
Stay with me here: I'm trying to convince you to make yogurt. And cheese. And butter. Trust me, I'm no Martha. I don't need to make more work for myself. But this little series on cool things you can make -- easily -- from milk is a fun way to try some kitchen science with your kids, and make a few discoveries yourself.
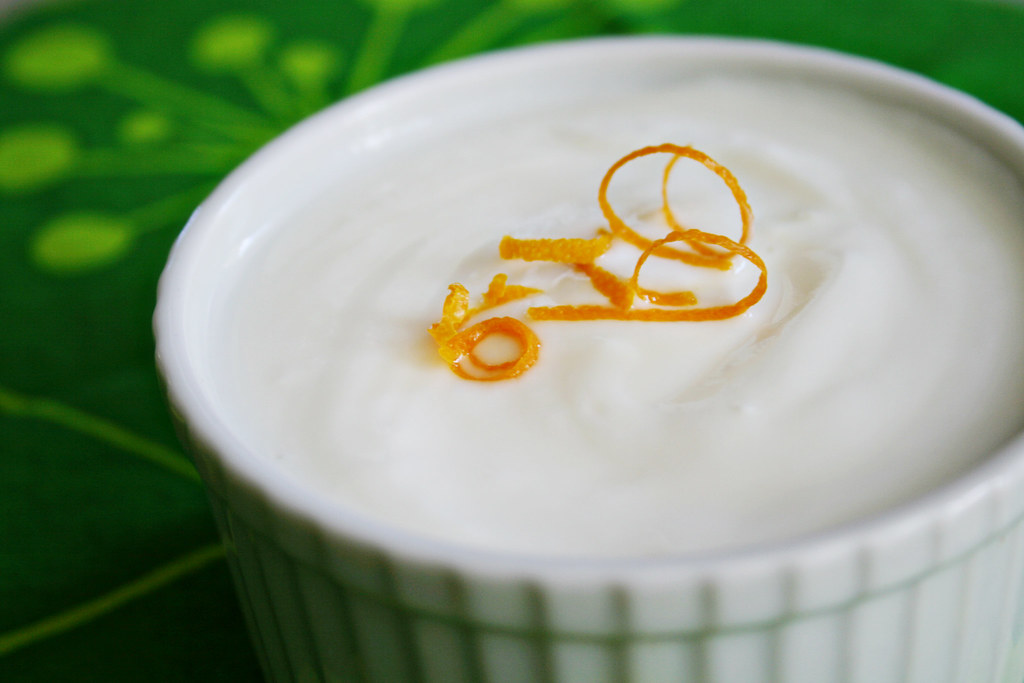
First up is yogurt. It's versatile, it's delicious, and it's ridiculously easy. You need only two or three common ingredients, and the only special equipment required is a thermometer. Hands-on time is minimal, and kids can help. Basically, you heat up milk, add a bit of yogurt as a starter and perhaps some powdered milk, then incubate it -- keeping it warm for several hours.
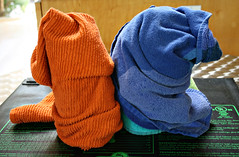
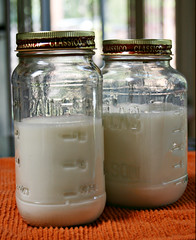
The trickiest part is rigging an incubator to keep the yogurt warm. Some people keep it at room temperature, but that hasn't worked for me. I use recycled jam or sauce jars, swaddled in towels and set atop a heated mat (it doubles as a seedling warmer). To keep curious kids from shaking the jars and keep in the heat, I invert a stock pot over them. Other options:
- Keep the yogurt warm in a crock pot;
- Swaddle your jars with towels;
- Set the jars in the oven with the pilot light on;
- Put the jars in a cooler filled with hot water;
- Buy a yogurt maker, if you really like buying unnecessary gadgets.
Have a favorite way to enjoy yogurt? I love it added to oatmeal, used in pancakes or muffins, and with fruit. If you need fresh ideas, check out this inspired in-progress compilation of 101 ways to dress up plain, unsweetened yogurt.
Homemade Yogurt
4 cups milk (whole, low-fat, or skim -- see note)
2 to 4 tablespoons plain yogurt with live cultures (I've used Trader Joe's and Nancy's organic nonfat yogurt)
2 tablespoons nonfat dry milk powder (optional)
2 to 4 tablespoons plain yogurt with live cultures (I've used Trader Joe's and Nancy's organic nonfat yogurt)
2 tablespoons nonfat dry milk powder (optional)
Heat milk in small, thick-bottomed saucepan, keeping a thermometer clipped to the side. If you're using powdered milk, stir it in. (I prefer not to stir the milk as it warms, which means a little more work later scrubbing the pan but less time standing over the stove.) Heat the milk to 185 degrees, then turn off the burner. Leave the pot on the stove until it cools to 110-120 degrees, about 45 minutes.
Meanwhile, put your jars and lids into a large stock pot, cover with water, and bring to a boil. Cover, turn off heat, and let sit until ready to use.
Spoon a cup or so of warm milk into a small bowl and gently whisk in the yogurt. Add this mix to the milk in the pot and stir. Pour mixture into jars, secure lids, and set up your jars for incubation. Then leave them alone! Shaking and stirring will disrupt the process.
Begin checking your yogurt at three hours, but you might want to let it sit for as long as 10. Stir your finished yogurt and chill in the refrigerator for two hours to overnight. It's good for at least a week in the refrigerator. Save a few tablespoons to start a new batch (you can save it in the freezer).
18 comments:
The oven pilot light method works well for me; I usually set it overnight. The only problem is remembering to do it before I go to bed!
I've been making yogurt this way - with the oven pilot light on, and the jars covered with a towel - for almost a year. The hardest part is remembering to pull them out before I turn the oven on to bake!
I confess that I don't sterilize my jars either - though I should... but so far so good.
Any good types for cleaning the bottom of the pot? I just can't seem to make it without a good milk burn on the bottom.
Next - to check out the ideas for how to flavor it!
Jennifer, I use a steel pot and just rinse it out and sprinkle on baking soda. After a few minutes, the burned milk comes off with a good scrubbing. I'd much rather do that than stand at the stove stirring and stirring and stirring.
No Way! I just made my first ever batch of yogurt a few days ago! I did it in my food dehydrator because it can be set at 110.
I feel like A LOT of food bloggers are starting to do this now. You are very au courant.
Linking to this on me Yogurt page! :)
Oh. and nice photo!
Cindy, did it work well in the dehydrator? (I'm watching for a good deal on one.) I have seen homemade yogurt all over the Interwebs for a while now -- it's fun to see. I like being able to do something myself, especially when it's so easy. And I'm much less likely to waste something I've made.
I have totally been wanting to try this and your post makes it seems so simple! I think I WILL try it and I'll get the kids involved too. They'll probably like it in some science-y sort of way! BTW, my friend makes her own yogurt too and she puts hers in a cooler over night. She says it keeps the temperature just right. So there's another idea! :-)
Darienne, Yes, it worked wonderfully in the dehydrator. I have a refurbished 5-tray Excaliber dehydrator that I found on eBay. I feel like maybe it cost $150. It is excellent and I recommend it highly. It does take up a lot of space though. It lives on my dining room floor.
@Brenda, let us know how it turns out. It took me three tries to get it right, but I've always used only skim milk, which isn't as reliably good as whole or low-fat milk. My first batch was way too runny, batch 2 was close, batch 3 was perfect.
@Cindy, my husband is an eBay ninja, and he's been on a dehydrator hunt for me for a few weeks now. I envision lots of sun-dried tomatoes and an end to tying up bundles of herbs all over the house to dry.
I set mine on a heating pad set to low and cover it with towels....I leave the therm. in so I can regulate the temp it has worked well for a year now.
Forget the herbs! Fruit leather!
I turn my oven on to warm, 110 degrees, for a couple of hours and then turn it off. The oven light only goes on in winter. I don't sterilize either and always ad non-fat dry milk powder.
I've been making my own yogurt for a few years now, and love the flavor. I use the hot water/cooler method for incubating. After I put in the hot tap water, I place a few layers of bubble wrap over the mason jars, than replace the cooler cover. I incubate for 10-12 hours and it comes out perfect, every time. I also add gelatin it makes the yogurt creamier, a big plus if you use low fat milk.
Bubble wrap — I never would have thought of it! I haven't tried gelatin. I'll have to give it a try. Thanks for the tips!
I try to keep the heat around the temperature I started with by putting the milk and yogurt culture in a thermos, wrap 3-5 towels around it , and put it in any insulated lunch bag.
A Thermos is a great, low-tech way to do it — I actually don't have one large enough. Thanks for suggesting it!
I had this amazing brainstorm and used one of my casserole dish carry cases with the hot pack to incubate the yogurt. I zipped it up and set it into the microwave. It worked wonderfully!
Good idea, Kristen — thanks! I have a fabric one... I wonder if that will work, perhaps in a briefly warmed oven? I'll have to experiment with that. Thanks for the tip!
Post a Comment